Shopify Accessibility Enabler Installation Guide via theme
This article shows you how to easily install Accessibility Enabler on your Shopify website. To install the Accessibility Enabler on the website, follow these steps:
1. Copy the Accessibility Enabler Tracking Script that is given to you during the onboarding process. Otherwise you can get it by clicking on Installation link in the main menu
Tracking Script is given when you create an Accessibility Enabler account. If you don’t have an account yet, please create a free account here. After creating your account you will be taken through a user-friendly, short onboarding process.
2. Next, go to your Shopify admin
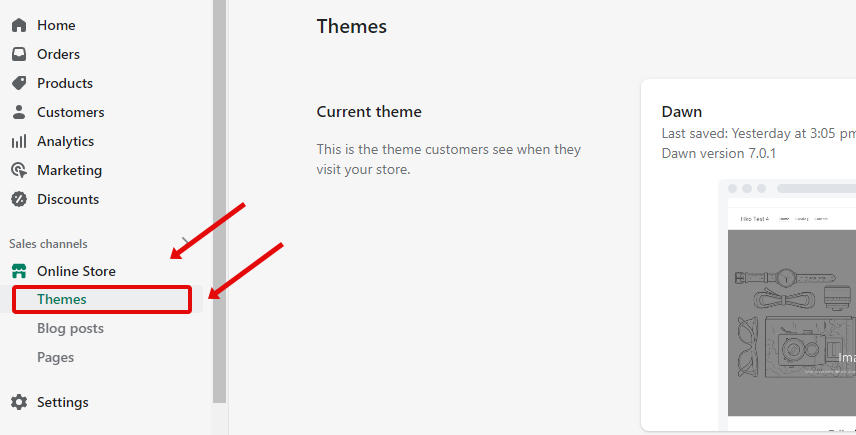
3. Then go to Online Store > Themes from main menu
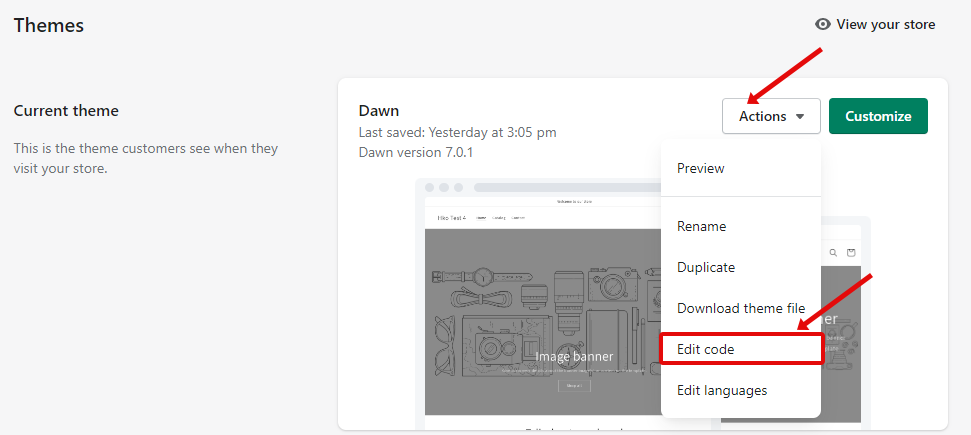
4.Then under current theme section, click on Actions > Edit Code
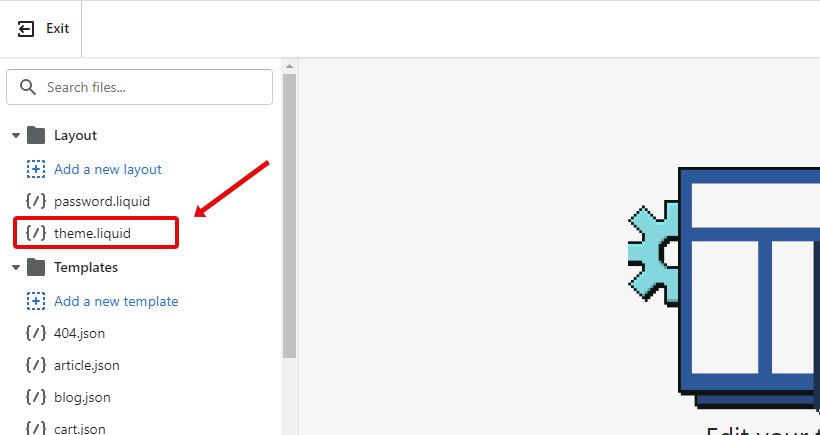
5.Find theme.liquid file in file list on the left ( usually the 2nd or 3rd file in the list) and click and open it.
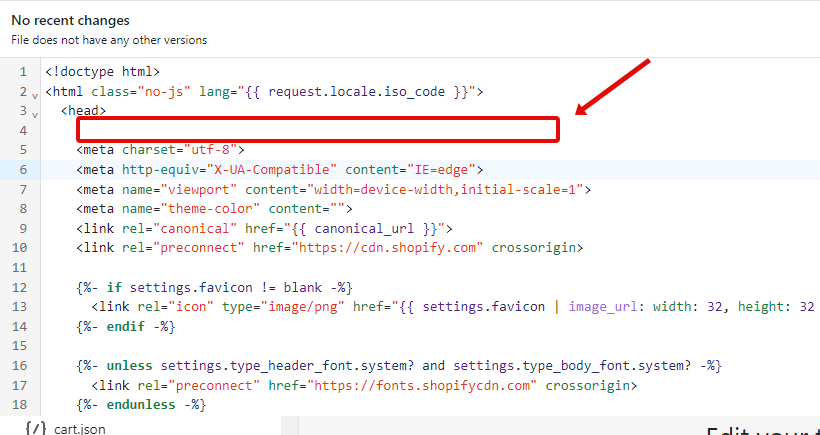
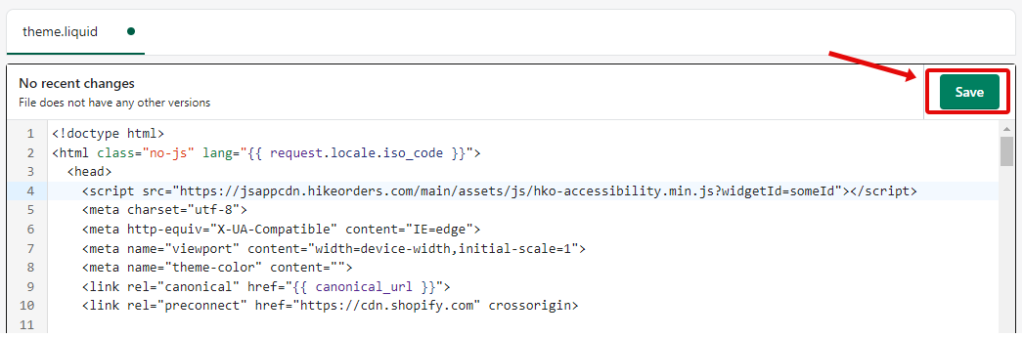
6.In this file, paste the JavaScript code ( copied in step 1) under <head> tag ( usually in line number 4) .
7.Then click save button on top right corner
8. That’s it. Go to your website frontend and you must see the Accessibility Enabler icon along the right-hand side.