CS Cart Accessibility Enabler Installation Guide
This article shows you how to easily install Accessibility Enabler on your CS Cart website. To install the Accessibility Enabler on the website, follow these steps:
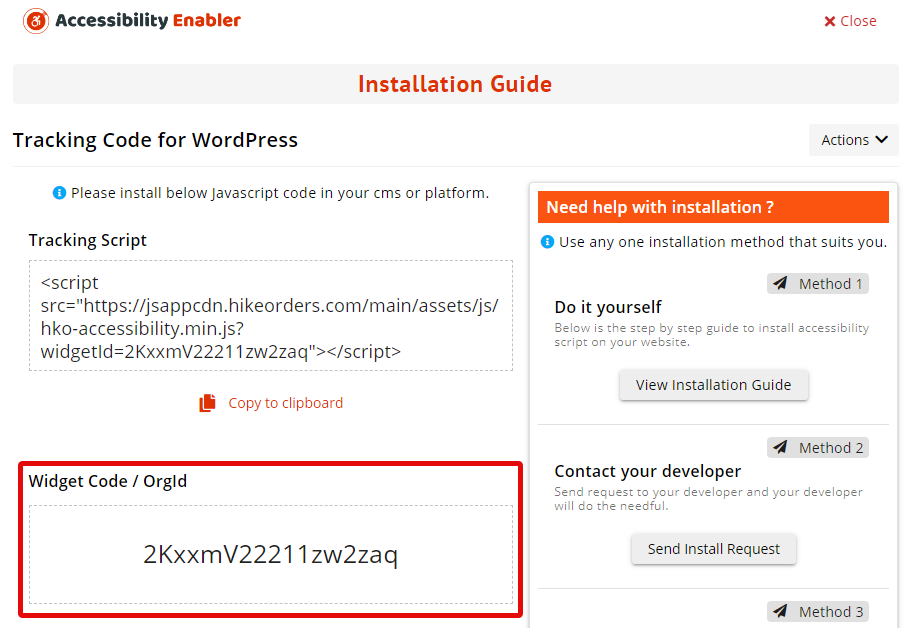
1. Copy the Accessibility Enabler Org ID that is given to you during the onboarding process.
The OrgId is given when you create an Accessibility Enabler account. If you don’t have an account yet, please create a free account here. After creating your account you will be taken through a user-friendly, short onboarding process.
2. Download CS Cart AddOn Here
3. Next, Login to your CS Cart back office account.
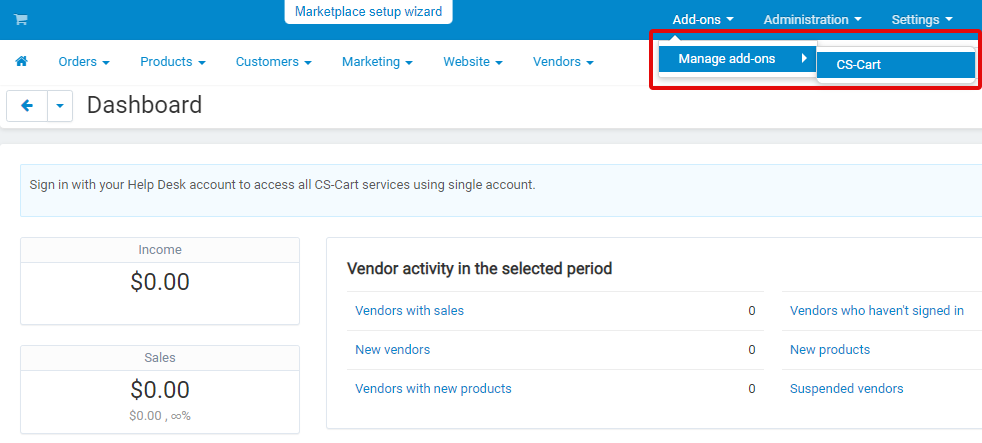
4. Go to Add-Ons > Manage add-ons > CS-Cart from top menu
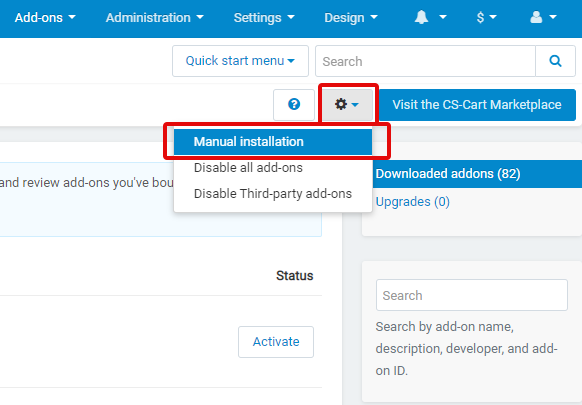
5. Click on the setting icon and select manual installation
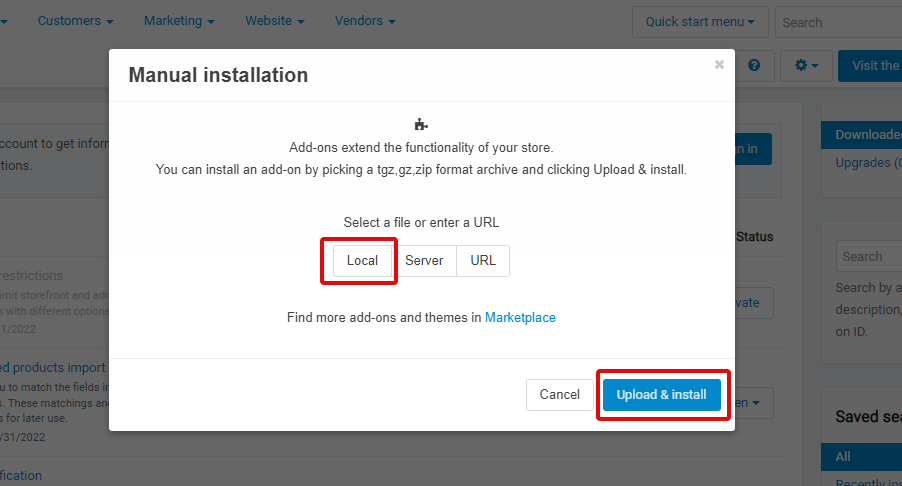
6. In the the popup, select local and upload the addon zip file ( downloaded in step 2 ). Then click on “Upload & Install” button
7. After addon gets installed, click “Recently Installed” under “Saved Searches” section on right hand side
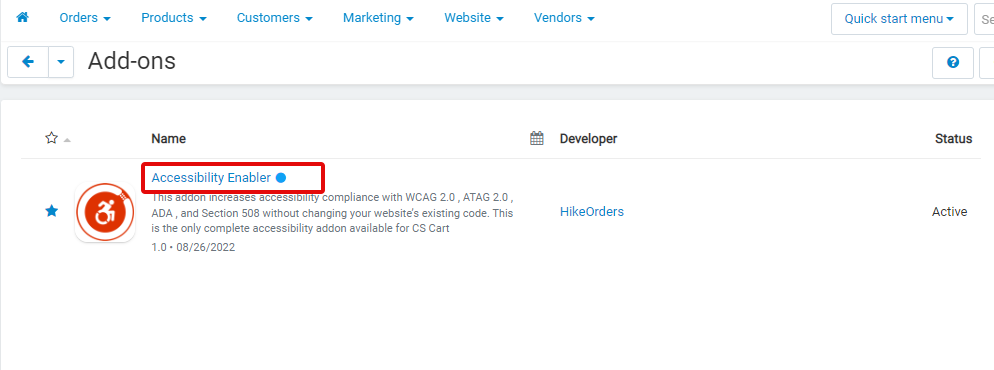
8. Locate Accessibility Enabler Add On in the list (left hand side) and click it. Accessibility Enabler configuration page opens.
9. Then , click Settings button
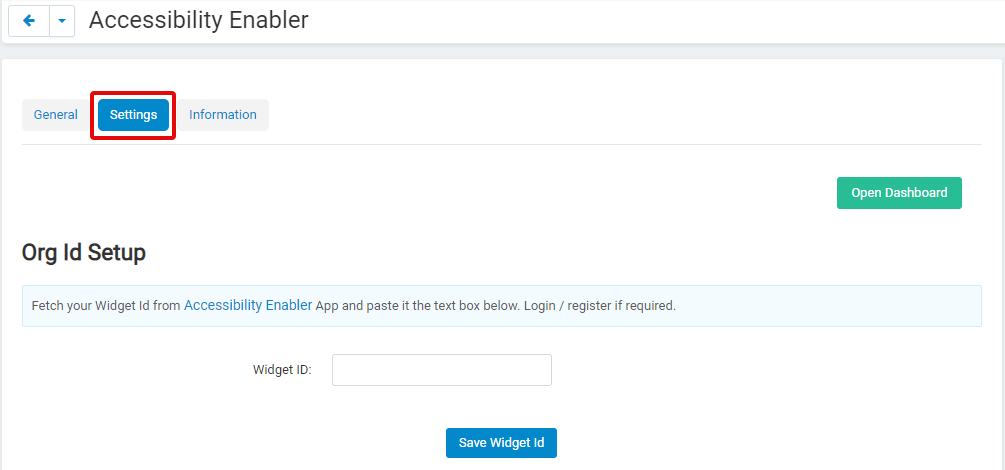
10. Now, enter the Widget Id in the textbox given, and click on “Save Widget Id” button
11. Go to your website frontend and you must see the Accessibility Enabler icon along the right-hand side.