LightSpeed Accessibility Enabler Installation Guide
This article shows you how to easily install Accessibility Enabler on your LightSpeed website. To install the Accessibility Enabler on LightSpeed website, follow these steps:
1. Copy the Accessibility Enabler script that is given to you during the onboarding process.
The script is given when you create an Accessibility Enabler account. If you don’t have an account yet, please create a free account here. After creating your account you will be taken thru a user-friendly, short onboarding process.
2. Login to LightSpeed Back Office
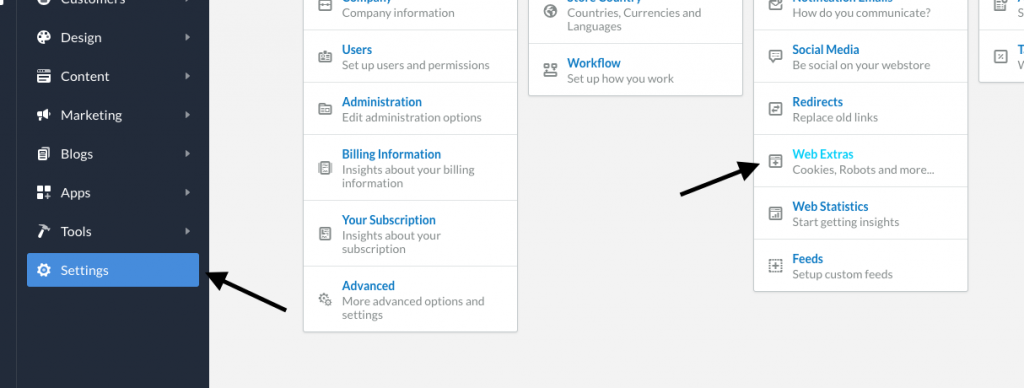
3. On the menu of the Back Office go to Settings > Website Settings > Web Extras.
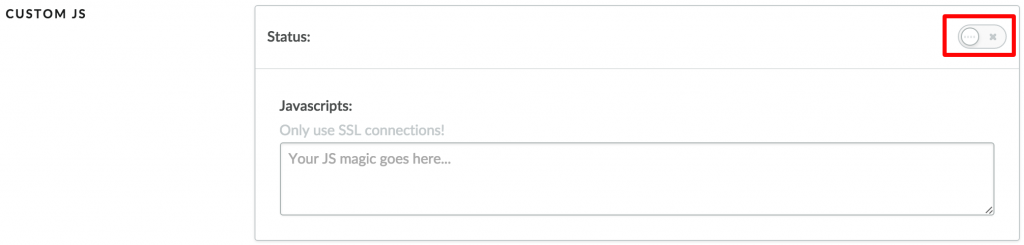
4. Enable the Custom JS by toggling the Switch on the top right-hand side.
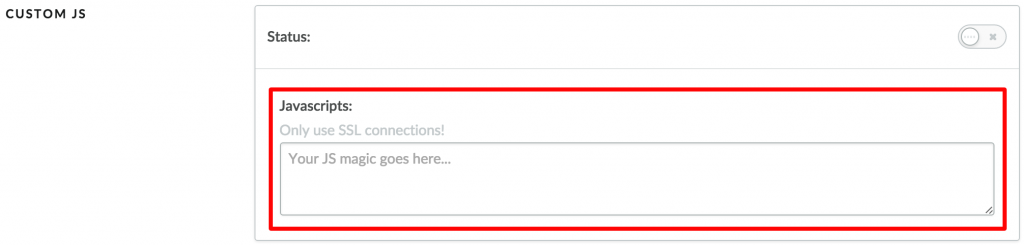
5. Paste the Accessibility Enabler Script inside the Custom JS text box.
6. Click Save on the top right-hand side.
7. Go to your website frontend and you must see the Accessibility Enabler icon along the right-hand side.