Joomla! Accessibility Enabler Installation Guide
This article shows you how to easily install Accessibility Enabler on your Joomla! website. To install the Accessibility Enabler on the website, follow these steps:
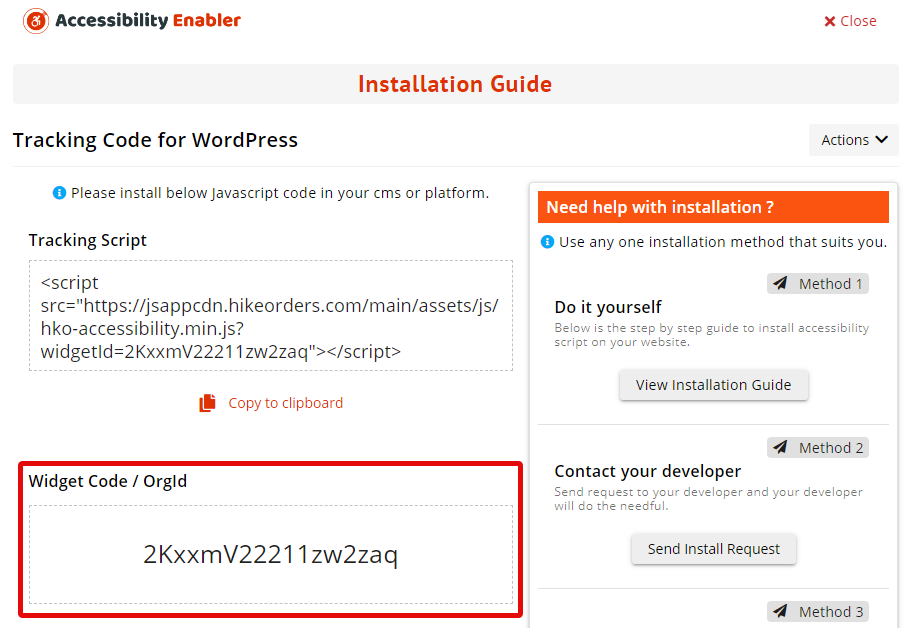
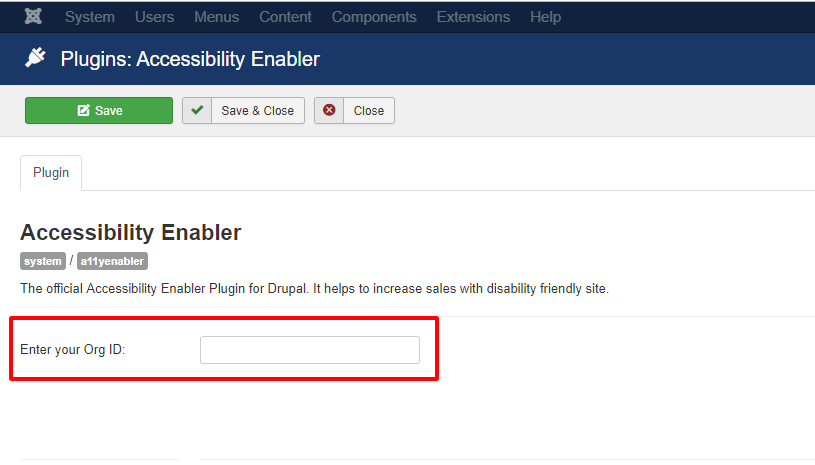
1. Copy the Accessibility Enabler Org ID that is given to you during the onboarding process.
The script is given when you create an Accessibility Enabler account. If you don’t have an account yet, please create a free account here. After creating your account you will be taken through a user-friendly, short onboarding process.
2. Login to your Joomla account and open your Control Panel
3. Download the extension package from below link. ( just click on the link to download )
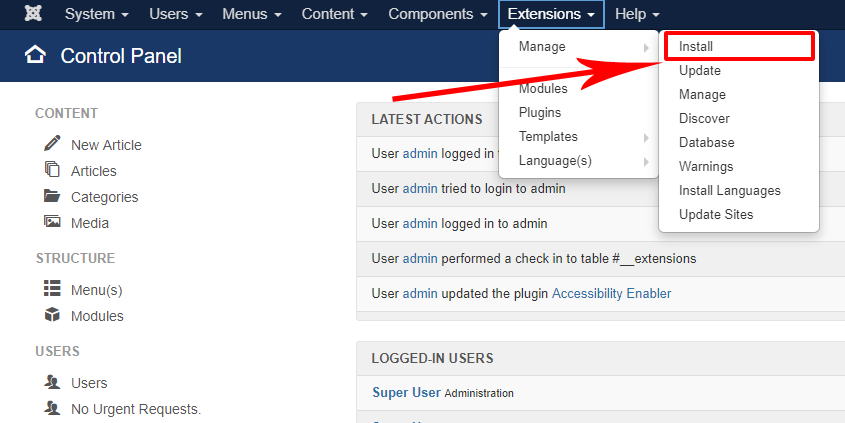
4. Go to Extensions > Manage > Install
5. Then click on the Upload Package File tab. And then click on Or browse for file button
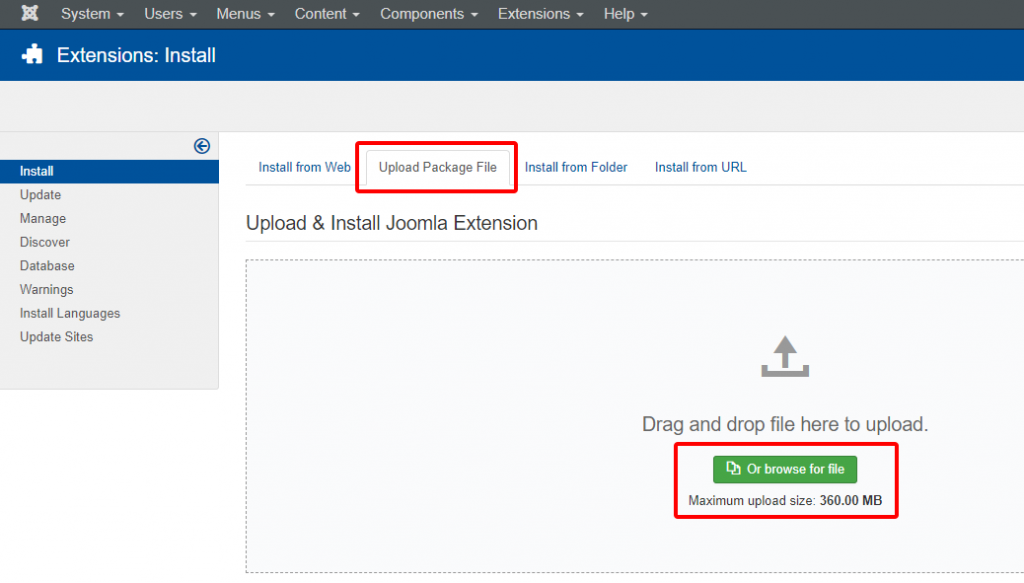
6. Upload the downloaded zip file in step 3
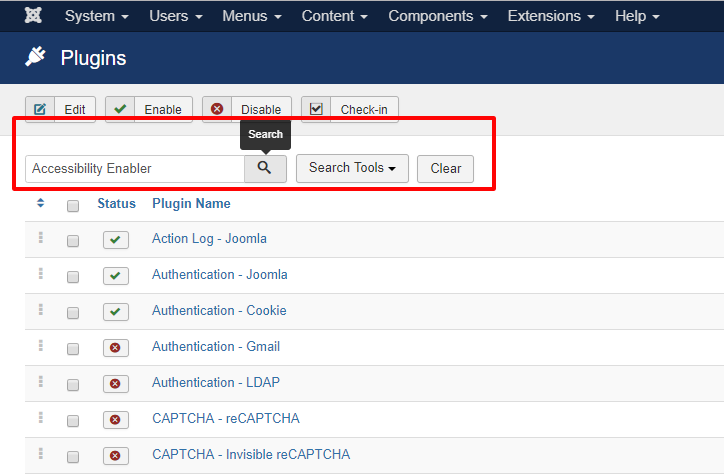
5. Next, go to Extensions > Plugins.
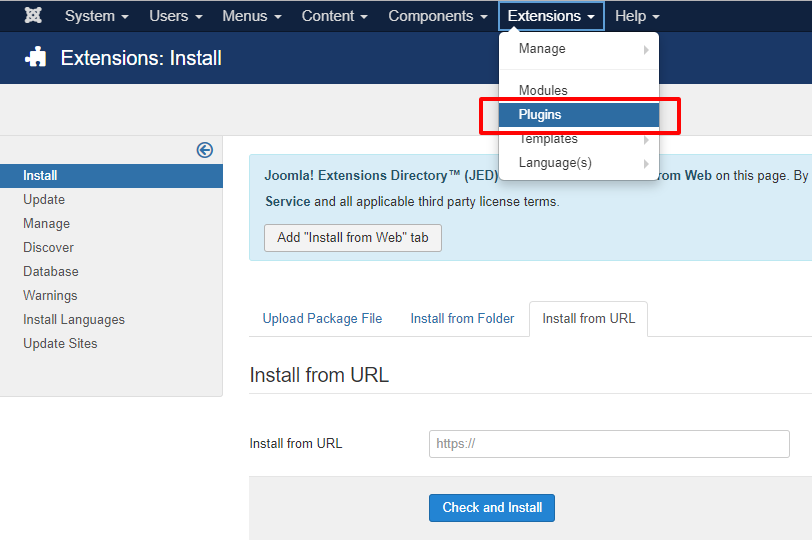
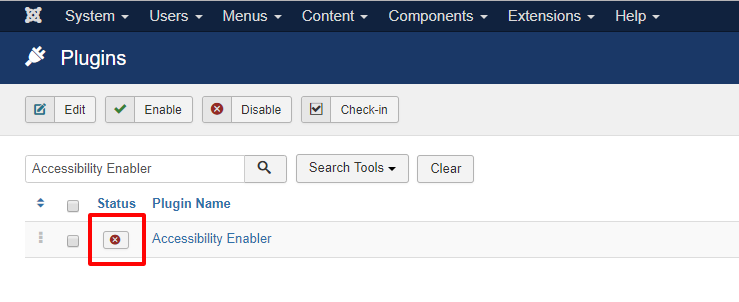
6. Type Accessibility Enabler into the search field. Find the Accessibility Enabler plugin in the list and open it.
7. Change the plugin’s status to Enabled in the drop down on the right.
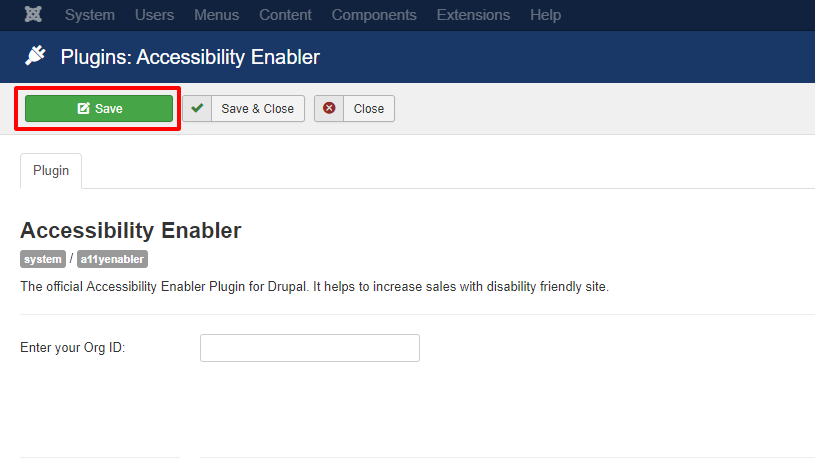
8. Click on Save in your Accessibility Enabler setting screen (inside Joomla)
9. Go to your website frontend and you must see Accessibility Enabler icon along the right-hand side.
Troubleshooting
If you don’t see the Accessibility Enabler widget show up on your website and you are using any cache plugin then, please add the following domains to the exception list in your caching plugin settings
- hikeorders.com
- jsappcdn.hikeorders.com
Also, make sure to refresh the cache. The changes will be reflected on your website after you refresh the cache.