How to setup a custom trigger?
The custom trigger option gives you the ability to design your own custom trigger that fires up the accessibility toolbar. This helps to adjust the trigger location, look & feel based on your website design.
Custom Trigger and Footer
Don’t add a custom trigger in the footer. Please add the link in the header and not in the footer.
Think of a keyboard-only user who doesn’t use the mouse. Such users have to keep pressing the TAB key at least 50 times to open the accessibility toolbar.
Plus, if he is a first-time visitor he will not have any clue about the presence of toolbar at all. Hence add it in the header part. So that’s the first thing he/she will open when they visit your site.
Setup a custom trigger
You may need your developer’s help to setup the custom trigger. The core idea behind this is to create a button or link via code on your website and when user click on it the accessibility widget will open.
To achieve this functionality our widget tracks a click on a particular html element on your website. This element is identified either via the element’s class or the element’s id. You have to provide this while setting up the custom trigger. The Custom Trigger Reference Field holds this value.
To setup the custom trigger please follow below steps
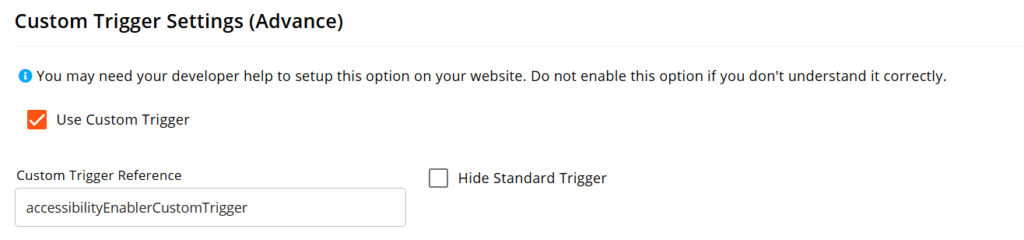
- Go to Widget Settings from the main menu and then scroll down to Customer Trigger Settings section
- Next, check Use Custom Trigger checkbox and then will immediately show 2 more fields
- Enter your HTML element’s class or id without ( dot or hash ) under Custom Trigger Reference Field
- If you would also like to hide the standard trigger then click on the Hide Standard Trigger checkbox
- At last, click on save button on top right corner to save your changes.